Switching your email marketing platform can feel like moving to a new house. You want to make sure nothing gets broken, lost, or left behind in the process.
If you are moving your email operations from GetResponse to Kit (formerly ConvertKit), the biggest challenge isn’t moving your subscriber list—it’s migrating your automated email sequences without disrupting your active funnels or hurting your sender reputation.
Executing a seamless GetResponse to Kit migration requires a strategic approach to protect your email deliverability rates. This step-by-step guide will walk you through exactly how to safely transition your subscribers, tags, and automated workflows from one email marketing platform to the other seamlessly.
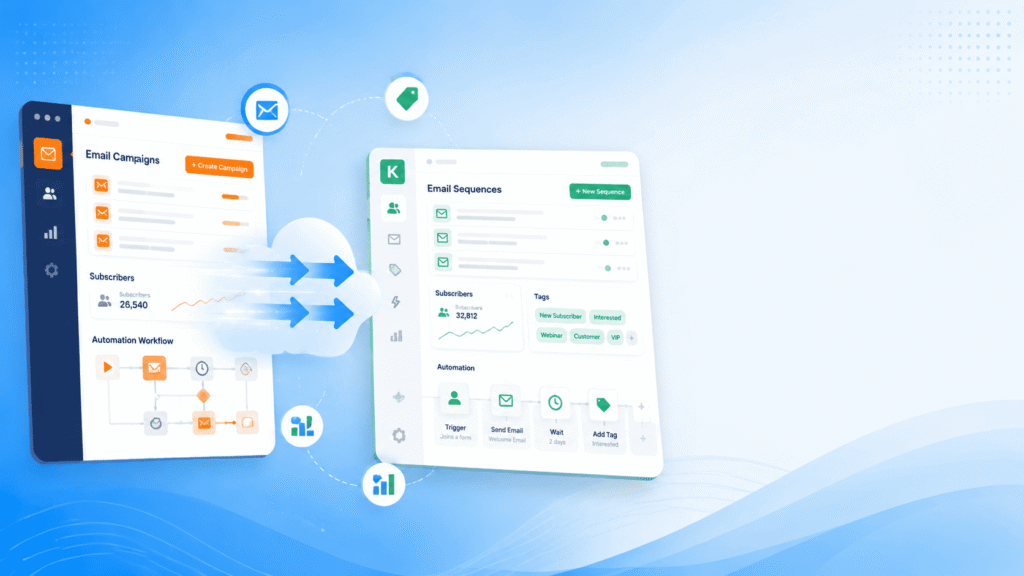
Phase 1: Start Your GetResponse to Kit Migration by Importing Your Data
Do not close your GetResponse account yet—you’ll need access to both platforms throughout the migration process. Thanks to Kit’s native migration tool, you no longer need to manually mess with raw CSV files unless you want to.
Step 1: Connect via API
- Log in to Kit account (or sign up for a new account if you haven’t already) and navigate to the Grow tab, then select Subscribers.
- Click the Add Subscribers button.
- In the window that pops up, select Other provider, and choose GetResponse.
- Click the link provided to grab your GetResponse API key, paste it into the field, and click Start import.
What Moves Over Automatically: Kit will safely migrate your contacts, map your custom fields, and automatically bring over your existing GetResponse Tags so your audience stays perfectly organized.
Phase 2: Recreating Your Emails & Automations
Because GetResponse and Kit use different email automation platforms, workflows and drip campaigns cannot be transferred directly. You’ll need to recreate your email templates, sequences, and autoresponders manually in Kit to leverage ConvertKit’s advanced automation features.
Step 1: Set Up Your Templates
Before copying email text, you need a skeleton for them to sit in.
- Go to the Send tab and select Email Templates.
- Click Create new template and choose a design that closely resembles your old GetResponse layout.
- Use the visual template editor to lock in your brand’s default text styles, colors, and fonts.
Step 2: Recreate Your Automated Sequences
- Go to the Send tab and click Sequences, then click + New sequence.
- Select the default email template you created in Step 1.
- Copy the subject lines and body text of your old GetResponse autoresponders and paste them into the Kit editor.
- Set your timing delays on the right-hand panel.
- Note: If a GetResponse email was set to send immediately upon signup, set your Kit timing to 0 days after the last email.
- Switch the status of each email from Draft to Publish. (Don’t worry, no one will get them until a Visual Automation triggers them).
Step 3: Build the Visual Automation Map
To make sure subscribers automatically trigger this sequence when they join your list, you need a Visual Automation.
- Navigate to the Automate tab and select Visual Automations.
- Click + New automation -> Start from scratch.
- Recreate your GetResponse entry points as Kit triggers (e.g., Trigger: Subscriber joins a Form).
- Click the (+) icon directly beneath the trigger, select Action, click Email Sequence, and select the sequence you created in Step 2.
- Click the toggle in the top-right corner to change the automation from Paused to Live.
Phase 3: Transitioning Forms, Profiles, and Premium Lists
Step 1: Recreate Forms and Landing Pages
- Go to the Grow tab and select Landing Pages & Forms.
- Click + Create new and select either Form or Landing Page. (If you are recreating a GetResponse popup, choose the Modal form format).
- Use Kit’s block builder to design the form. Once complete, grab the new embed code and replace the old GetResponse codes across your live website pages.
Step 2: Set Up Segments and Creator Profiles
- Segments: If you had filtered lists in GetResponse, go to Grow > Subscribers and click the + button next to All Segments in the right sidebar. Rebuilt the rules (e.g., “Subscribed to Newsletter Tag”) to mirror your old parameters.
- Creator Profile: If you used GetResponse’s public profile pages, recreate them in Kit’s Creator Profile and update any live links pointing to the old page.
- Premium Newsletters: If you charge for your newsletter, set up your payment details under Kit first, then create a paid newsletter product. Note: You cannot migrate active credit card tokens from GetResponse. You must cancel the subscriptions in GetResponse and politely ask your subscribers to re-subscribe via your new Kit payment forms.
Phase 4: Managing Active Loops & Testing Your Email Migration
Managing active subscriber loops is critical to protect your email sender reputation during a platform shift.
How to Avoid the Duplicate Email Trap
If you turn your new Kit Visual Automations to “Live” while importing historical subscribers who already finished those emails months ago in GetResponse, Kit might accidentally trigger the sequence and spam them all over again.
To handle subscribers currently mid-sequence, choose one of these options:
- Option A (Cleanest): Leave your GetResponse automations running for 5 to 7 days. Let active users finish their automated sequences inside GetResponse before turning them off.
- Option B (Immediate): If you must cut ties immediately, look at your GetResponse reports. Tag users based on where they left off (e.g., Left off at Email 3). In Kit, build a shortened “cloned” sequence that starts directly at Email 4, and target only those specific users.
The Final Test Checklist
Before you officially delete GetResponse, run these tests:
- Test Forms: Go to your website, sign up using a test email address, and verify that the contact successfully appears in Kit under the right tag.
- Test Sequences: Send yourself a test edition of your sequences directly from the editor to check formatting and link clicks.
- Test Automations: Step through a live visual automation using a test email to ensure the sequence triggers seamlessly.
- Keep GetResponse Active for 7 Days: Keep your old account open on a downgraded plan for one week just to catch any stray webhooks or late-finishing subscribers.
Moving platforms is the perfect time to optimize your email marketing strategy. Check out our comprehensive Kit Review to learn how to unlock advanced segmentation features and scale your email revenue.